原文:
Blur Postprocessing Effect (Box and Gauss)
Summary
模糊效果是一个非常有用的效果,可以用来表现角色虚弱时的视线模糊,也可以用来作为过场动画。我们是通过平均屏幕局部区域的像素值来实现画面模糊的。模糊处理可以应用在很多方面,但是最常用的就是实现后处理效果。因此你可能需要提前阅读我之前的后处理教程。

Boxblur
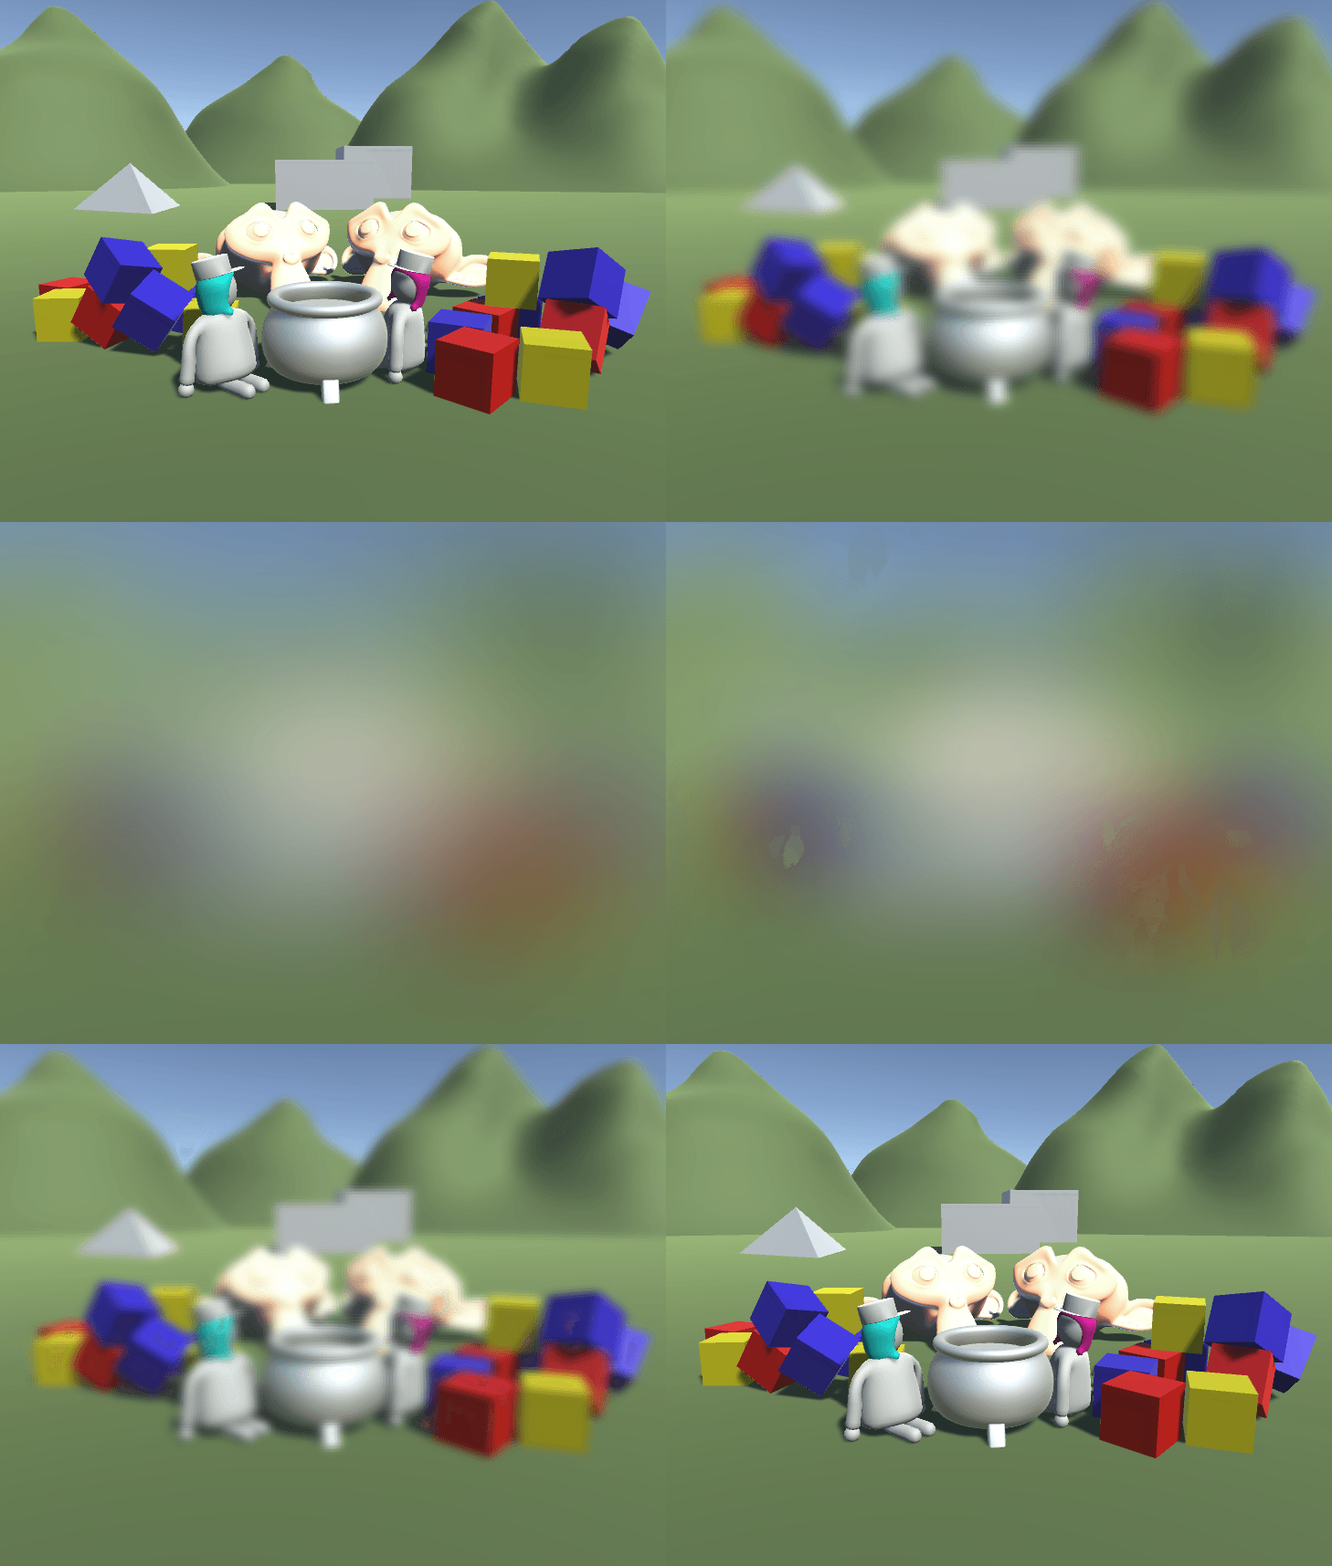
块模糊是最简单的一种模糊,只要才将局部方块区域进行采样平均就行。为了连续对局部区域采样,我们需要使用for循环。然后将所有采样值求和,再除以采样个数,得到局部平均值。
我们可以在前面的简单后处理脚本中做如下修改。
1
2
3
4
5
6
7
8
9
10
11
12
|
fixed4 frag(v2f i) : SV_TARGET{
float4 col = 0;
for(float index=0;index<10;index++){
col += tex2D(_MainTex, i.uv);
}
col = col / 10;
return col;
}
|
1D Blur
因为我们上面是连续对同一个点采样求平均,所以最终结果并没有什么变化。接下来我们将改为对不同位置进行采样。然后我们需要创建一个公共变量,来控制采样块的大小,采样块的大小是一个相对值而不是实际的像素个数,这样可以保证相同的参数对不同分辨率的图片效果一样。
1
2
3
4
5
|
Properties{
[HideInInspector]_MainTex ("Texture", 2D) = "white" {}
_BlurSize("Blur Size", Range(0,0.1)) = 0
}
|
有个模糊尺寸,我们可以在每次采样中计算不同的采样点。我们将循环次数映射为0-1之间,然后减去0.5,这样得到的采样点刚好是围绕当前点。最后我们乘以模糊尺寸,就可以动态控制模糊块的大小了。
这里我们只处理y方向的采样点。
1
2
3
4
5
6
7
|
for(float index=0;index<10;index++){
float2 uv = i.uv + float2(0, (index/9 - 0.5) * _BlurSize);
col += tex2D(_MainTex, uv);
}
|

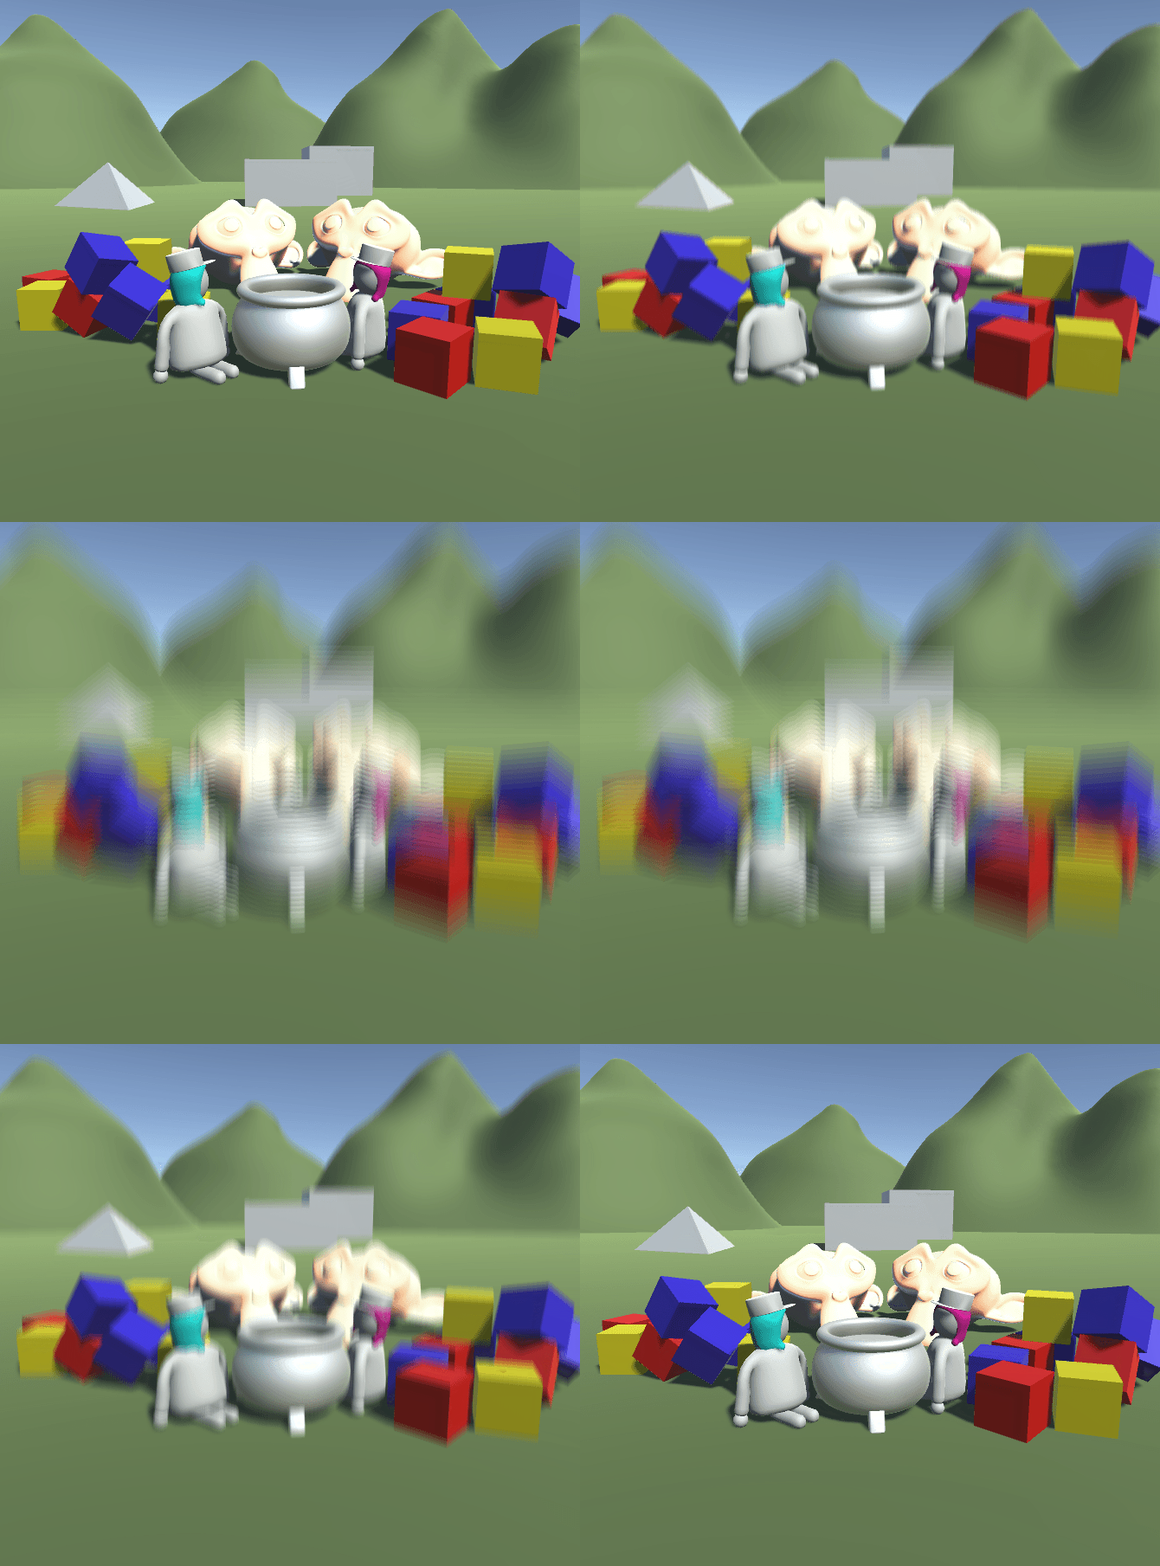
上面的采样点是沿着y方向的,所以模糊效果也是沿着y方向,但是我们希望x方向也模糊。我们可以在上面那个循环内再套一个循环,但是这并不是最好的方法。我们可以先执行y方向的模糊,然后再将模糊后的图片执行x方向的模糊。这样两次模糊后,就得到模糊块的平均值。
2D Blur
为了执行第二次模糊,我们重新实现一个Pass,我们可以将原来的代码复制过来,然后将偏移值改为沿着x方向。还有就是我们的模糊尺寸需要修改,如果不修改,模糊块的形状将和图片保持一致,这样就不能保证模糊块是一个方形。
1
2
3
4
5
6
7
8
9
10
11
12
13
14
15
16
17
|
fixed4 frag(v2f i) : SV_TARGET{
float invAspect = _ScreenParams.y / _ScreenParams.x;
float4 col = 0;
for(float index = 0; index < 10; index++){
float2 uv = i.uv + float2((index/9 - 0.5) * _BlurSize * invAspect, 0);
col += tex2D(_MainTex, uv);
}
col = col / 10;
return col;
}
|
为了在后处理中连续使用两次Pass,我们需要对后处理脚本做一些修改。从前面的流程上来说,我们是先对原图进行纵向模糊,将结果存在一张临时纹理上,然后对这张临时纹理进行横向模糊,最终将结果写入目标图中。所以我们需要一张临时纹理,我们可以通过RenderTexture.GetTemporary函数来获取临时纹理。该函数是从纹理缓存池中获取,如果没有就会新建,然后释放该临时纹理,会将其放回纹理缓存池,以待下次使用。在执行纵向模糊时,我们要告诉Unity执行第一个Pass,因此可以向blit函数中的第四个参数传入0,表示执行第一个Pass,而目标图传入的是临时纹理。然后在执行横向模糊时,原图是临时纹理,目标图是最终的效果图,第四个参数传入1,表示执行第二个Pass。
1
2
3
4
5
6
7
8
|
void OnRenderImage(RenderTexture source, RenderTexture destination){
var temporaryTexture = RenderTexture.GetTemporary(source.width, source.height);
Graphics.Blit(source, temporaryTexture, postprocessMaterial, 0);
Graphics.Blit(temporaryTexture, destination, postprocessMaterial, 1);
RenderTexture.ReleaseTemporary(temporaryTexture);
}
|

Customize Sample Amount
上面实现基本的模糊效果,但是我们可能希望控制采样个数,也就是循环次数。但是我们不能简单的将循环次数声明到公共变量,因为Unity在编译时必须确定到底采样几次,而变量是无法在编译时确定的。因为不能在循环语句中执行纹理采样,实际上前面循环在编译时就已经展开了,循环次数在编译时确定的。
那么我们可以通过宏命令来定义变量,这样在编译时就是确定的了。我们在上面两个Pass中加入一下宏定义,然后将所有与采样次数相关的全部替换掉。
1
2
3
4
5
6
7
8
9
10
11
12
13
14
15
|
fixed4 frag(v2f i) : SV_TARGET{
float4 col = 0;
for(float index = 0; index < SAMPLES; index++){
float2 uv = i.uv + float2(0, (index/(SAMPLES-1) - 0.5) * _BlurSize);
col += tex2D(_MainTex, uv);
}
col = col / SAMPLES;
return col;
}
|
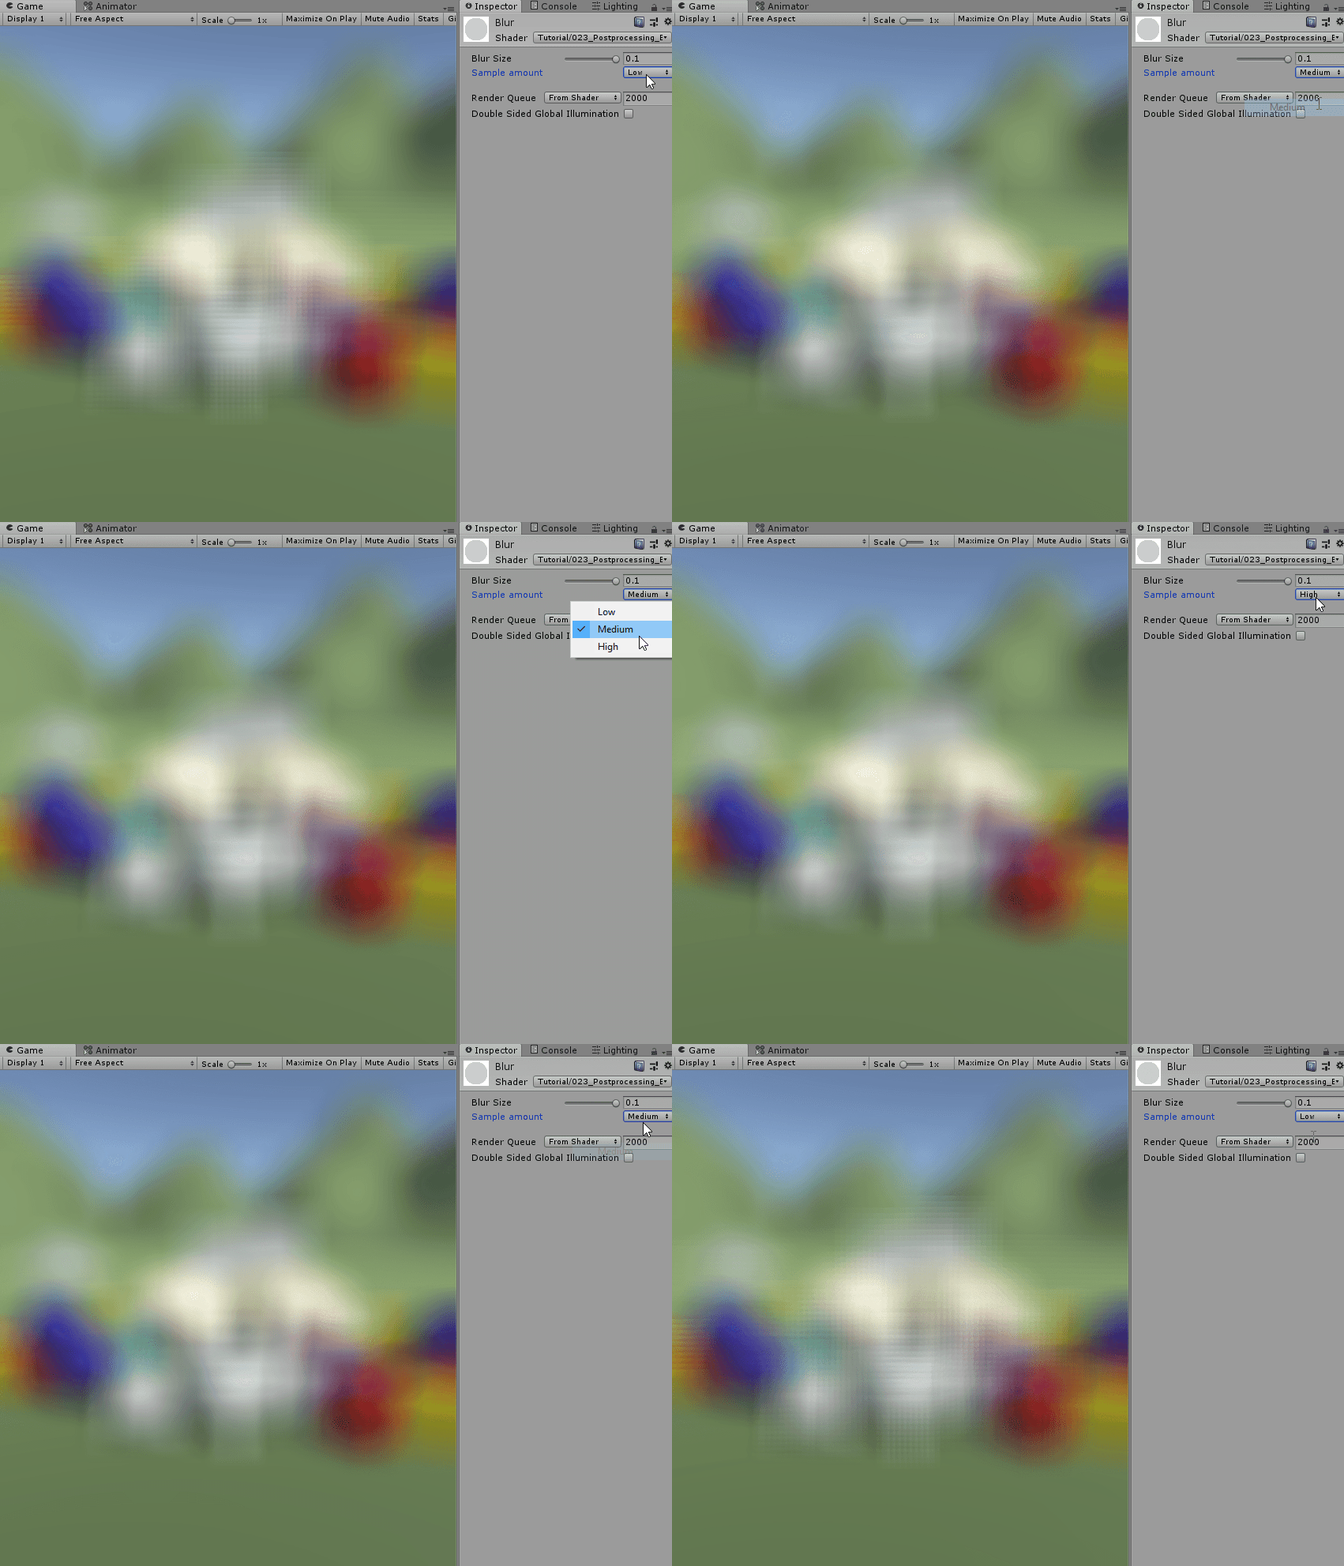
这样我们就可以在代码中快速修改采样次数了。这里我们还可以进一步改进,将循环次数暴露在材质面板上,这样我们可以通过材质面板来快速修改采样次数。首先我们添加一个KeywordEnum属性,这个属性在材质面板上显示的是枚举变量,同时在着色器中定义相应的关键字。
1
2
3
4
5
6
|
Properties{
[HideInInspector]_MainTex ("Texture", 2D) = "white" {}
_BlurSize("Blur Size", Range(0,0.1)) = 0
[KeywordEnum(Low, Medium, High)] _Samples ("Sample amount", Float) = 0
}
|
然后在着色器代码中声明这些关键字。
1
| #pragma multi_compile _SAMPLES_LOW _SAMPLES_MEDIUM _SAMPLES_HIGH
|
着色器会根据这些关键字编译出不同的版本,也就是所谓的变体。当我们在材质面板上选择不同的关键字时,实际上就是切换不同的变体。然后我们针对不同的变体设置不同的采样次数。这样我们就可以通过材质面板来控制采样次数了。
1
2
3
4
5
6
7
| #if _SAMPLES_LOW
#define SAMPLES 10
#elif _SAMPLES_MEDIUM
#define SAMPLES 30
#else
#define SAMPLES 100
#endif
|

Gaussian Blur
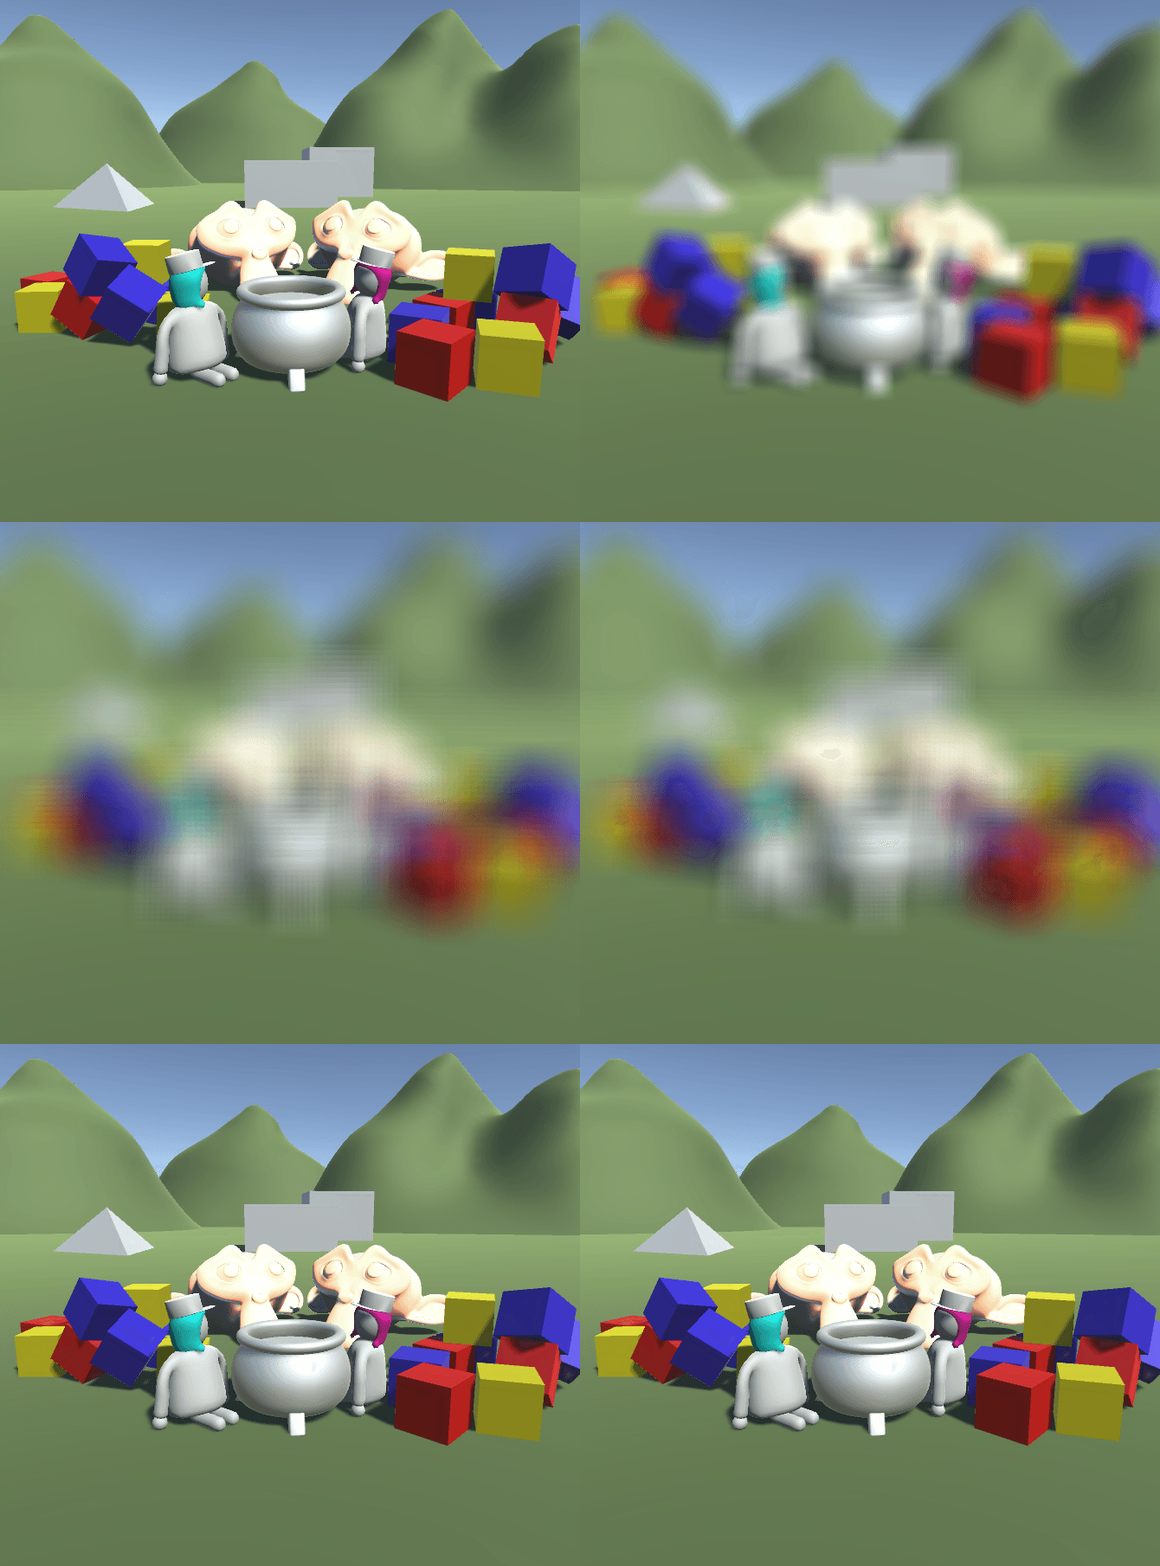
再复杂一点,我们可以使用高斯模糊。前面将的模糊是计算局部平均值,而高斯模糊将中心点的权重增加,其权重分布符合高斯分布。

这个函数需要两个参数,一个是离中心点的距离,一个是标准差。在上一个模糊方法中我们已经计算了离中心点的距离,这里需要增加一个变量来控制标准差。另外还需要一个变量来选择使用普通的模糊还是高斯模糊。
1
2
3
4
5
6
7
8
|
Properties{
[HideInInspector]_MainTex ("Texture", 2D) = "white" {}
_BlurSize("Blur Size", Range(0,0.1)) = 0
[KeywordEnum(BoxLow, BoxMedium, BoxHigh, GaussLow, GaussHigh)] _Samples ("Sample amount", Float) = 0
[Toggle(GAUSS)] _Gauss ("Gaussian Blur", float) = 0
_StandardDeviation("Standard Deviation (Gauss only)", Range(0, 0.1)) = 0.02
}
|
1
| #pragma shader_feature GAUSS
|
高斯函数中还需要的东西有圆周率和自然数,这里我一并定义了。
1
2
| #define PI 3.14159265359
#define E 2.71828182846
|
当使用高斯函数时,我们无法确定其总的权重,所以这里引入一个新的变量sum,当我们使用高斯模糊时,我们将其初始化为0,然后在后面累计计算高斯的总权重,在使用普通模糊时,因为每个点的权重都是1,所以总权重就是点的个数。
1
2
3
4
5
| #if GAUSS
float sum = 0;
#else
float sum = SAMPLES;
#endif
|
然后我们来修改片段着色器中的循环采样部分。首先我们计算采样点离中心点的偏移值,这个在高斯模糊中会用到。
1
2
3
4
5
6
7
8
9
10
| for(float index = 0; index < SAMPLES; index++){
float offset = (index/(SAMPLES-1) - 0.5) * _BlurSize;
float2 uv = i.uv + float2(0, offset);
#if !GAUSS
col += tex2D(_MainTex, uv);
#else
#endif
}
|
接下来我们实现高斯模糊部分,首先我们计算标准差的平方,因为在高斯函数中用到两次了。然后根据高斯函数编写表达式。
1
2
3
|
float stDevSquared = _StandardDeviation*_StandardDeviation;
float gauss = (1 / sqrt(2*PI*stDevSquared)) * pow(E, -((offset*offset)/(2*stDevSquared)));
|
我们将计算好的高斯权重累计到sum变量中,并且将其与纹理采样结果进行加权平均。
最后还有一个问题是标准差不能为零,所以我们加一个段保护代码,如果为零则不执行高斯模糊。
1
2
3
4
5
6
7
8
9
10
11
12
13
14
15
16
17
18
19
20
21
22
23
24
25
26
27
28
29
30
31
32
33
34
35
36
37
|
fixed4 frag(v2f i) : SV_TARGET{
#if GAUSS
if(_StandardDeviation == 0)
return tex2D(_MainTex, i.uv);
#endif
float4 col = 0;
#if GAUSS
float sum = 0;
#else
float sum = SAMPLES;
#endif
for(float index = 0; index < SAMPLES; index++){
float offset = (index/(SAMPLES-1) - 0.5) * _BlurSize;
float2 uv = i.uv + float2(0, offset);
#if !GAUSS
col += tex2D(_MainTex, uv);
#else
float stDevSquared = _StandardDeviation*_StandardDeviation;
float gauss = (1 / sqrt(2*PI*stDevSquared)) * pow(E, -((offset*offset)/(2*stDevSquared)));
sum += gauss;
col += tex2D(_MainTex, uv) * gauss;
#endif
}
col = col / sum;
return col;
}
|

上面这个模糊我想有两点可以优化,一是使用include文件,将公用代码写入其中,然后可以在多处进行引用,实现代码复用。另一个是将高斯权重计算转移到C#代码中,然后将结果传入着色器,因为在着色器中计算高斯函数非常浪费。
Source
1
2
3
4
5
6
7
8
9
10
11
12
13
14
15
16
17
| using UnityEngine;
public class PostprocessingBlur : MonoBehaviour {
[SerializeField]
private Material postprocessMaterial;
void OnRenderImage(RenderTexture source, RenderTexture destination){
var temporaryTexture = RenderTexture.GetTemporary(source.width, source.height);
Graphics.Blit(source, temporaryTexture, postprocessMaterial, 0);
Graphics.Blit(temporaryTexture, destination, postprocessMaterial, 1);
RenderTexture.ReleaseTemporary(temporaryTexture);
}
}
|
1
2
3
4
5
6
7
8
9
10
11
12
13
14
15
16
17
18
19
20
21
22
23
24
25
26
27
28
29
30
31
32
33
34
35
36
37
38
39
40
41
42
43
44
45
46
47
48
49
50
51
52
53
54
55
56
57
58
59
60
61
62
63
64
65
66
67
68
69
70
71
72
73
74
75
76
77
78
79
80
81
82
83
84
85
86
87
88
89
90
91
92
93
94
95
96
97
98
99
100
101
102
103
104
105
106
107
108
109
110
111
112
113
114
115
116
117
118
119
120
121
122
123
124
125
126
127
128
129
130
131
132
133
134
135
136
137
138
139
140
141
142
143
144
145
146
147
148
149
150
151
152
153
154
155
156
157
158
159
160
161
162
163
164
165
166
167
168
169
170
171
172
173
174
175
176
177
178
179
180
181
182
183
184
185
186
187
188
189
190
191
192
193
194
195
196
197
198
199
200
201
202
203
| Shader "Tutorial/023_Postprocessing_Blur"{
Properties{
[HideInInspector]_MainTex ("Texture", 2D) = "white" {}
_BlurSize("Blur Size", Range(0,0.5)) = 0
[KeywordEnum(Low, Medium, High)] _Samples ("Sample amount", Float) = 0
[Toggle(GAUSS)] _Gauss ("Gaussian Blur", float) = 0
[PowerSlider(3)]_StandardDeviation("Standard Deviation (Gauss only)", Range(0.00, 0.3)) = 0.02
}
SubShader{
Cull Off
ZWrite Off
ZTest Always
Pass{
CGPROGRAM
#include "UnityCG.cginc"
#pragma vertex vert
#pragma fragment frag
#pragma multi_compile _SAMPLES_LOW _SAMPLES_MEDIUM _SAMPLES_HIGH
#pragma shader_feature GAUSS
sampler2D _MainTex;
float _BlurSize;
float _StandardDeviation;
#define PI 3.14159265359
#define E 2.71828182846
#if _SAMPLES_LOW
    #define SAMPLES 10
#elif _SAMPLES_MEDIUM
    #define SAMPLES 30
#else
    #define SAMPLES 100
#endif
struct appdata{
float4 vertex : POSITION;
float2 uv : TEXCOORD0;
};
struct v2f{
float4 position : SV_POSITION;
float2 uv : TEXCOORD0;
};
v2f vert(appdata v){
v2f o;
o.position = UnityObjectToClipPos(v.vertex);
o.uv = v.uv;
return o;
}
fixed4 frag(v2f i) : SV_TARGET{
#if GAUSS
if(_StandardDeviation == 0)
return tex2D(_MainTex, i.uv);
#endif
float4 col = 0;
#if GAUSS
float sum = 0;
#else
float sum = SAMPLES;
#endif
for(float index = 0; index < SAMPLES; index++){
float offset = (index/(SAMPLES-1) - 0.5) * _BlurSize;
float2 uv = i.uv + float2(0, offset);
#if !GAUSS
col += tex2D(_MainTex, uv);
#else
float stDevSquared = _StandardDeviation*_StandardDeviation;
float gauss = (1 / sqrt(2*PI*stDevSquared)) * pow(E, -((offset*offset)/(2*stDevSquared)));
sum += gauss;
col += tex2D(_MainTex, uv) * gauss;
#endif
}
col = col / sum;
return col;
}
ENDCG
}
Pass{
CGPROGRAM
#include "UnityCG.cginc"
#pragma multi_compile _SAMPLES_LOW _SAMPLES_MEDIUM _SAMPLES_HIGH
#pragma shader_feature GAUSS
#pragma vertex vert
#pragma fragment frag
sampler2D _MainTex;
float _BlurSize;
float _StandardDeviation;
#define PI 3.14159265359
#define E 2.71828182846
#if _SAMPLES_LOW
#define SAMPLES 10
#elif _SAMPLES_MEDIUM
#define SAMPLES 30
#else
#define SAMPLES 100
#endif
struct appdata{
float4 vertex : POSITION;
float2 uv : TEXCOORD0;
};
struct v2f{
float4 position : SV_POSITION;
float2 uv : TEXCOORD0;
};
v2f vert(appdata v){
v2f o;
o.position = UnityObjectToClipPos(v.vertex);
o.uv = v.uv;
return o;
}
fixed4 frag(v2f i) : SV_TARGET{
#if GAUSS
if(_StandardDeviation == 0)
return tex2D(_MainTex, i.uv);
#endif
float invAspect = _ScreenParams.y / _ScreenParams.x;
float4 col = 0;
#if GAUSS
    float sum = 0;
#else
    float sum = SAMPLES;
#endif
for(float index = 0; index < SAMPLES; index++){
float offset = (index/(SAMPLES-1) - 0.5) * _BlurSize * invAspect;
float2 uv = i.uv + float2(offset, 0);
#if !GAUSS
col += tex2D(_MainTex, uv);
#else
float stDevSquared = _StandardDeviation*_StandardDeviation;
float gauss = (1 / sqrt(2*PI*stDevSquared)) * pow(E, -((offset*offset)/(2*stDevSquared)));
sum += gauss;
col += tex2D(_MainTex, uv) * gauss;
#endif
}
col = col / sum;
return col;
}
ENDCG
}
}
}
|
你可以在以下链接找到源码:
https://github.com/ronja-tutorials/ShaderTutorials/blob/master/Assets/023_PostprocessingBlur/PostprocessingBlur.cs
https://github.com/ronja-tutorials/ShaderTutorials/blob/master/Assets/023_PostprocessingBlur/PostprocessingBlur.shader
希望你能喜欢这个教程哦!如果你想支持我,可以关注我的推特,或者通过ko-fi、或patreon给两小钱。总之,各位大爷,走过路过不要错过,有钱的捧个钱场,没钱的捧个人场:-)!!!


